This is a SEW IN label as sold in my Etsy shop- hmjoriginals.
Things to note:
1. You do not have to frame your label. You might not have the fabric or you might just want the label itself with no frills.
2. More expensive household irons on the linen and cotton settings CAN reach temperatures to heat up the ink and transfer it to another fabric. This can happen when you do sustained heat and pressure in one spot- like pressing on interfacing. Steam will also help transfer the ink.
If you are adding interfacing, make sure to have a pressing cloth or old towel under the label when pressing. Please keep in mind that this is a synthetic fabric and sustained high heat could burn the fabric or cause the ink to ghost to the other areas of the label. Regular pressing to add framing fabric will not transfer the ink- it is not a sustained or heavy pressing.
3. Please review this page on interfacing to see if you would prefer to add interfacing.
First step- backing visibility

To get started, place the label and muslin over your backing fabric- can you see the backing fabric through both fabrics? Can you see any design element from the backing fabric? If yes to either, cut an extra piece of muslin or other light colored fabric (or go dark- sew on a blank piece) to the size of the label, pin to the back of the label, and sew both as one when you sew on the sides.
Most labels are good with just the one backing for the whole label. But it is good to check as I have had a few backing fabrics that still showed the elements through the label and muslin.
To make it frameless, sew a backing fabric RST on at least two sides (or all four if you are putting the label on an already bound quilt.) Make a small cut in the backing fabric and pull the label through, press the edges. Follow the steps below to apply to the quilt.
You can choose fabric from the quilt to bring the front and the back together or you can choose fabric from the quilt back to make the label blend in. If you want it to seem like it is floating, sew the backing fabric to all four sides of the label.

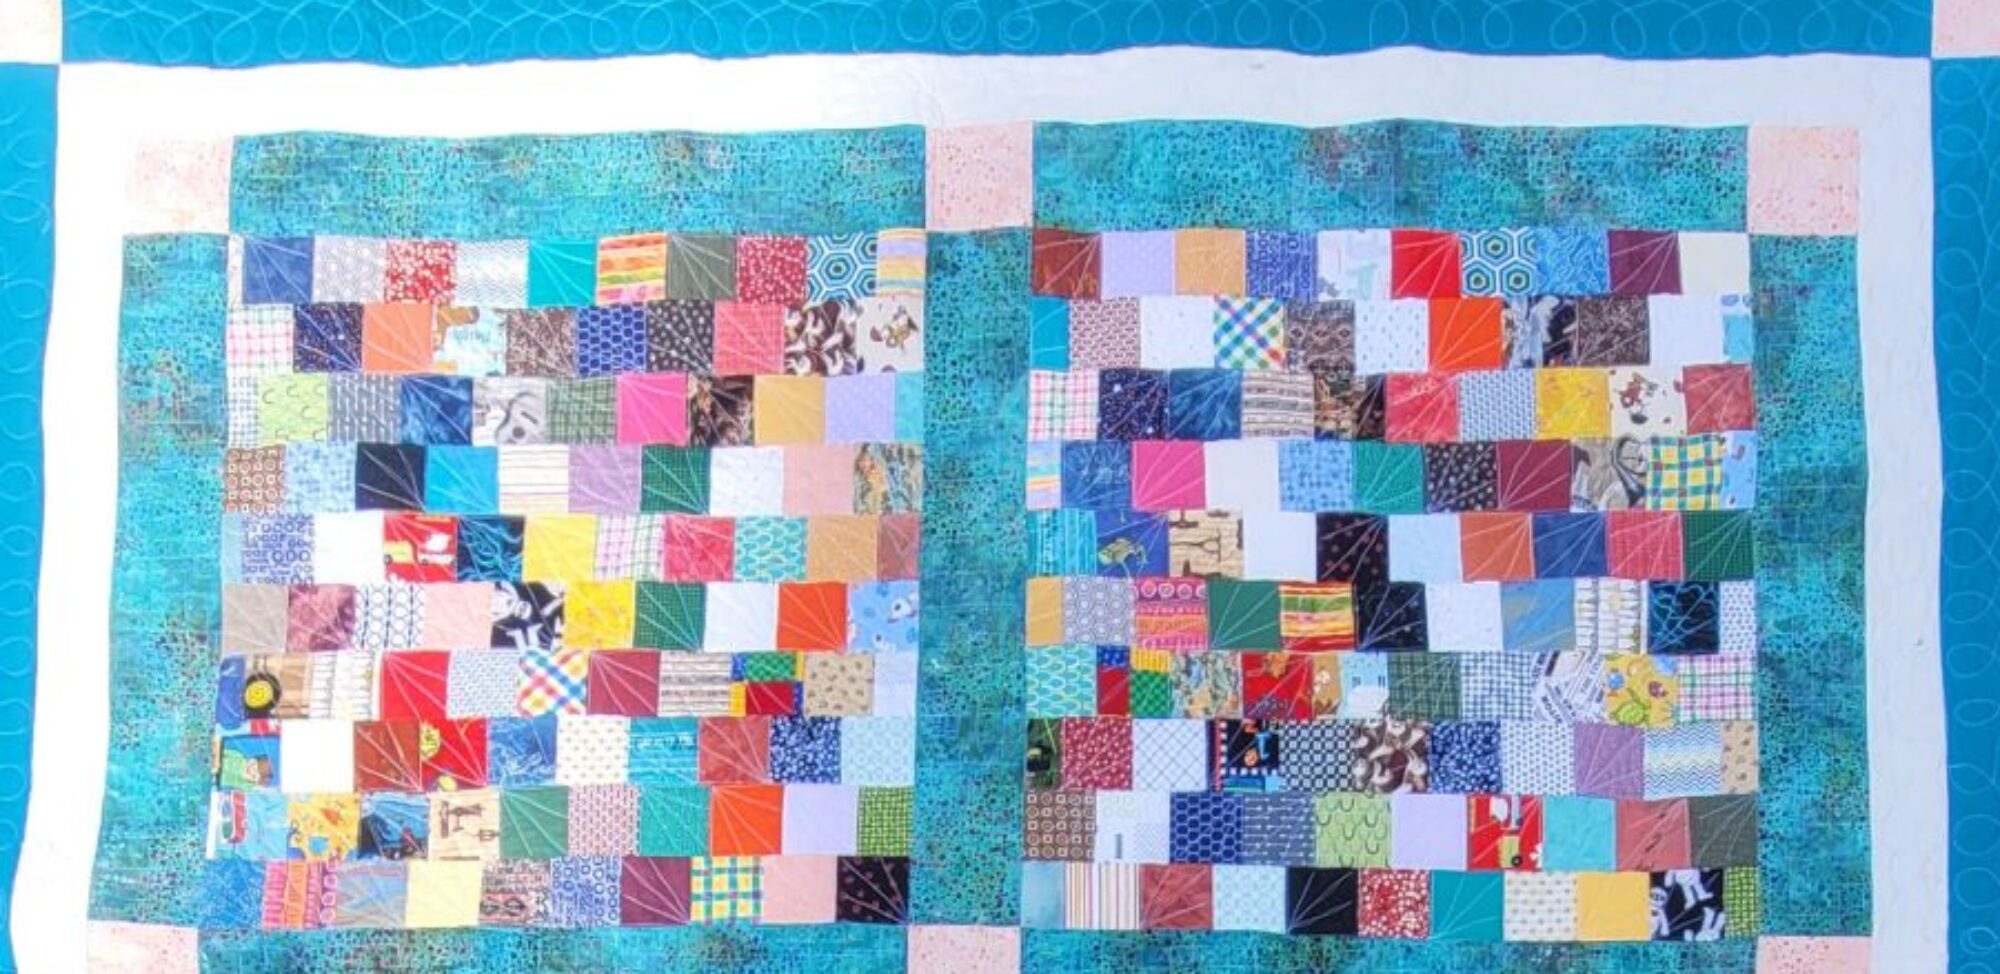
If I have any orphan blocks from the quilt, I like to use those on the side or the top, depending on the size of the block. I had a bunch of half square triangles left over for this quilt and used two on the side and four along the top. This brought in all the colors and the neutral fabric to the back of the quilt.
If the label is large, I sew on only the top and whatever side won’t be tucked into the binding. I make sure it is at least a 2″ wide strip. If the label is small, I sew fabric to all four sides of the label.
You will need the label, the extra fabric, and a piece of muslin or white/off white cotton fabric.
Bordering your label
I sew the side (s) of the label first and press to the fabric. If you use orphan blocks you might want to press to the label instead.

Sew the top side of the label and press to the cotton fabric.

Cut the muslin or light colored fabric roughly to size and place them right sides together. sew across the top and whichever side won’t be placed into the binding.

Clip the corner to turn the fabric and make a point.

Press and turn the label RSO and press the sewn edges, making sure to press the back fabric under the seam.

Trim to size.

When I use a half or full page size label it can end up quite large. Even though there is no batting, the large expanse could move around in the label and the seams could eventually come undone. I pin the backing to the label on the unsewn edges so they won’t separate, a few pins along the middle, and do stitch in the ditch around the label.
This photo shows the need to make sure you have PLENTY of seam allowance on all sides of your label. I had to redo this label. It at least makes a good “learn from my mistakes” label…

Binding
If I am sewing a label onto a finish quilt, I will have stitched all 4 sides and turned the label RSO. Place the label wherever you want it to go on the quilt and pin it well. Then stitch down all four sides using your favorite method- a whip stitch, ladder stitch, or a needle work or embroidery stitch- the choice is yours.
For unfinished quilts (that have no binding on them yet) I follow the steps below, depending on what side I want to do my binding first.
If I sew my binding on the back first, like when using a flange binding or I want the front to have a nice stitch:

- I pin the label in place first, taking care to have no wrinkles.
- I stay stitch with my machine along the quilt sides to hold it in place along the two sides.
- I pin the loose corner with a safety pin so I don’t poke myself as I sew the binding on.
- I stitch down the binding to cover the raw edges of the label once turned. After connecting the ends, I stitch the binding down to the front.
- Lastly I hand stitch the label down on the two loose sides with a whipstitch or ladder stitch.
If I am sewing my binding on the front first:
- I sew the binding on first around the front of the quilt.
- The label is placed and pinned in the corner and with a safety pin the top inside corner to hold it steady. Believe me, you don’t want to undo the stitching to release a corner of the label (I’m sure you can figure out how I know this…)
- I staystitch the two raw edges down.
- Complete stitching down the binding, turning to the back and covering all the raw edges.
- Lastly I hand stitch the label down on the two loose sides with a whipstitch or ladder stitch.

Here is a close up of label showing:
- A- binding done from the back for a flange binding,
- B- Stitch line for the binding on the front, and
- C- stitch in the ditch to hold the label and backing fabric in place (done before putting it on the quilt).

Other pages for labels-
- Different look of fabric– showcases 100% cotton, 100% polyester, and 70/30% poly/cotton
- Changes when washed– how the different substrates change when washed
- Look and feel– to interface or not to interface
- Label Sayings– what to say when you don’t know what to say